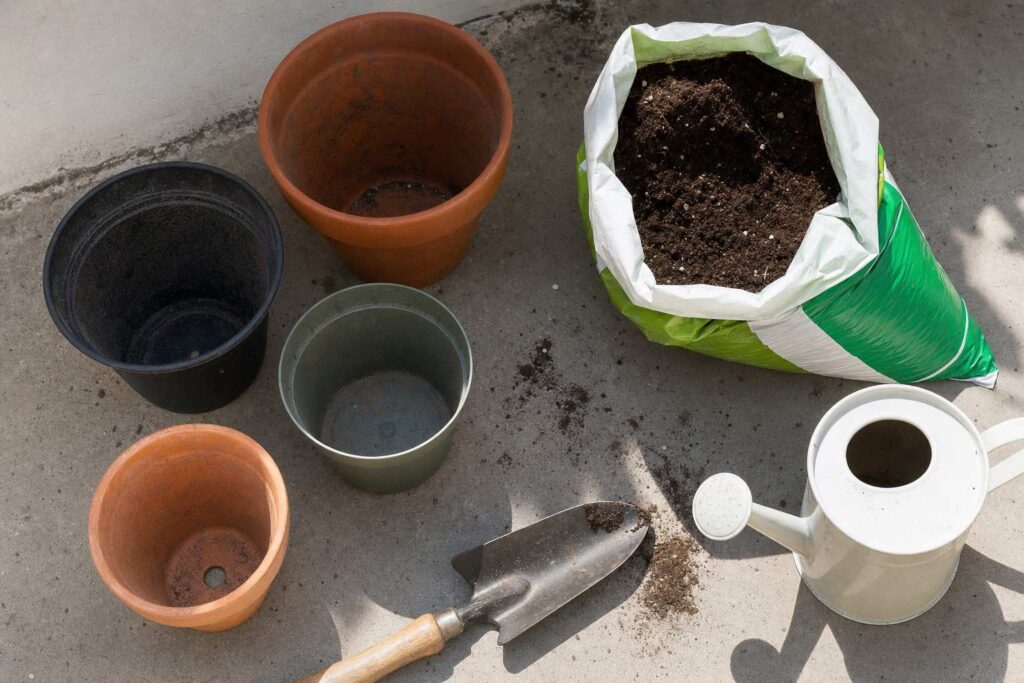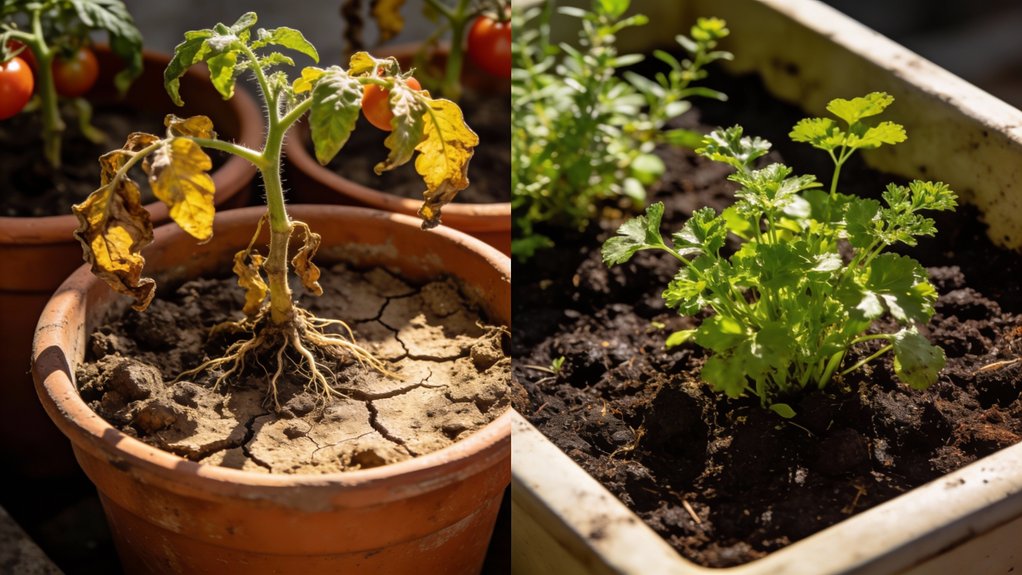
Many container gardens struggle not because of pests or disease, but because of basic setup mistakes.
Small errors in container choice, soil, watering, or placement can limit growth from the start.
All of them are easy to correct once you know what to look for. This guide walks through nine common container gardening mistakes and explains how to fix each one.
Work through these before you plant. If a plant is already failing and you want to work out what went wrong, the diagnostic version of this list goes through the causes one at a time.
Choose Containers at Least 12 Inches Deep
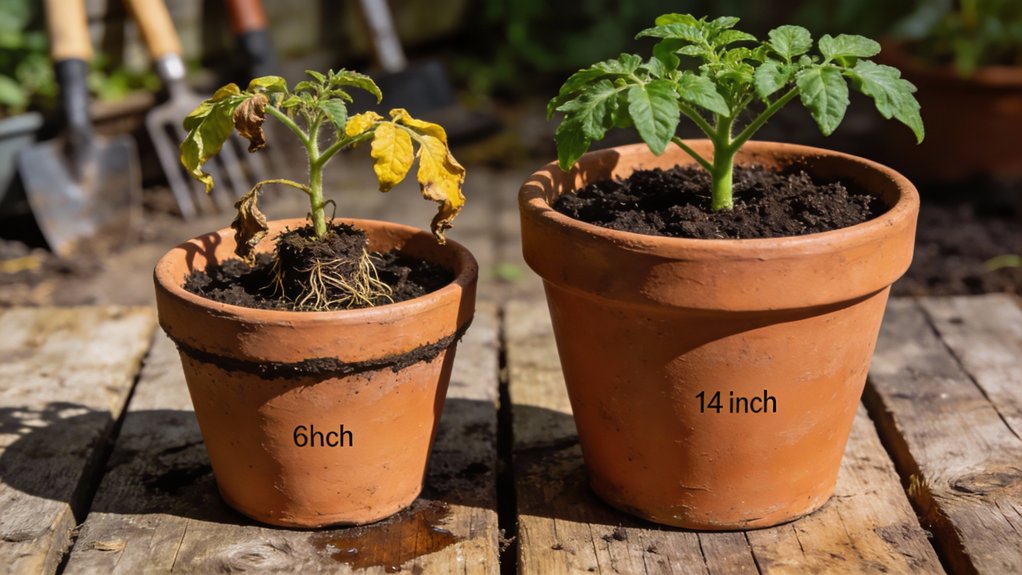
One of the biggest mistakes you can make is grabbing whatever pot looks nice without checking its depth.
Shallow containers create problems fast. Your plants need at least 12 inches of depth for proper root development, especially heavy feeders like tomatoes and squash.
Deeper pots also hold more moisture, which matters when sun and wind dry out soil quickly. You’ll water less often and your plants won’t stress from inconsistent moisture.
Shallow containers simply don’t hold enough soil to support healthy growth. Match container depth to your plant’s mature size, and you’ll avoid rootbound conditions and nutrient deficiencies that compound every week.
Always Drill Drainage Holes Before Planting
Depth matters, but it won’t save your plants if water can’t escape. Proper drainage techniques prevent root rot and keep your container garden thriving.
Different container materials require different approaches: you can drill through plastic, ceramic, and terra-cotta, but skip glass entirely.
Essential drainage steps:
- Check for pre-existing holes before you buy or plant
- Drill 3-4 holes (½ inch diameter) evenly across the container bottom
- Place a drainage tray underneath to catch excess water
- Reuse collected water for your next watering session
This simple preparation guarantees adequate airflow and maintains ideal soil moisture levels.
Use Potting Soil, Not Garden Soil in Containers
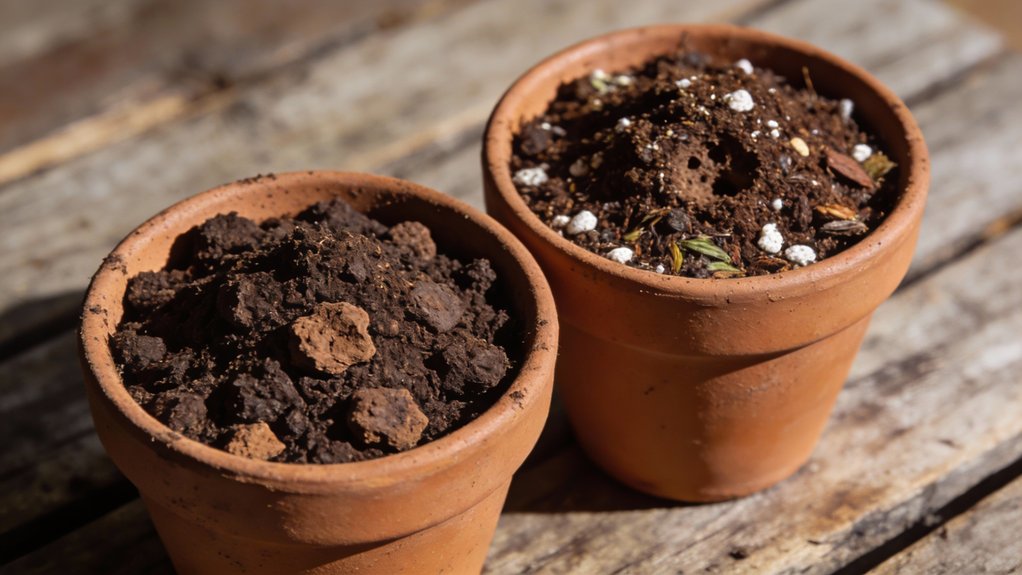
Grabbing dirt from your backyard seems logical and economical, but garden soil will suffocate your container plants.
Garden soil drawbacks include heavy compaction, poor drainage, and depleted nutrients. Three conditions that’ll stunt root development in pots.
Potting soil is different. Peat moss, perlite, and bark create the lightweight structure your containers need, retaining moisture while letting air reach roots.
Always check bags for “potting soil” labels before buying.
You can boost quality further by mixing in compost or worm castings, which add valuable nutrients throughout the growing season.
Container Plants Need the Same Sun, but Suffer More Under It
A plant needs the same light in a pot as it does in the ground. What changes is how hard that light is on it. A container holds little soil, so it heats up and dries out far faster than a garden bed under the same sun. The answer to a scorched container plant is water, shade on the pot and a bigger pot, not less light.
Here’s how to get sunlight exposure right:
- Give the plant the hours it actually wants. Illinois Extension puts most vegetables at six or more hours of direct sun a day, and that does not drop because the roots are in a container. Our guide to measuring what your balcony really gets walks through it.
- Choose morning sun over afternoon to prevent scorching from intense heat.
- If afternoon heat is burning leaves, shade the pot rather than the plant, or move it for the worst couple of hours. Cutting a sun-loving crop back to three or four hours does not fix heat stress, it just starves the plant of light.
- Adjust plant orientation seasonally as weather patterns and sun angles shift throughout the year.
- Use light-colored containers to reflect heat and keep roots cooler.
Monitor your plants’ responses and relocate them if you notice wilting or leaf burn.
Water Container Gardens Daily (Or Install Drip Irrigation)
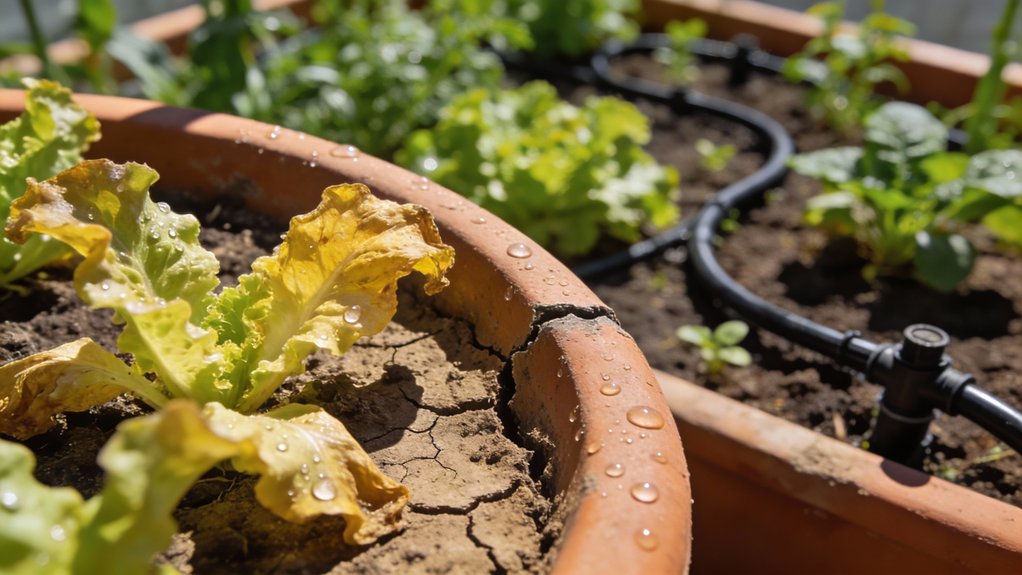
Container gardens lose moisture at an alarming rate, often three to four times faster than traditional garden beds.
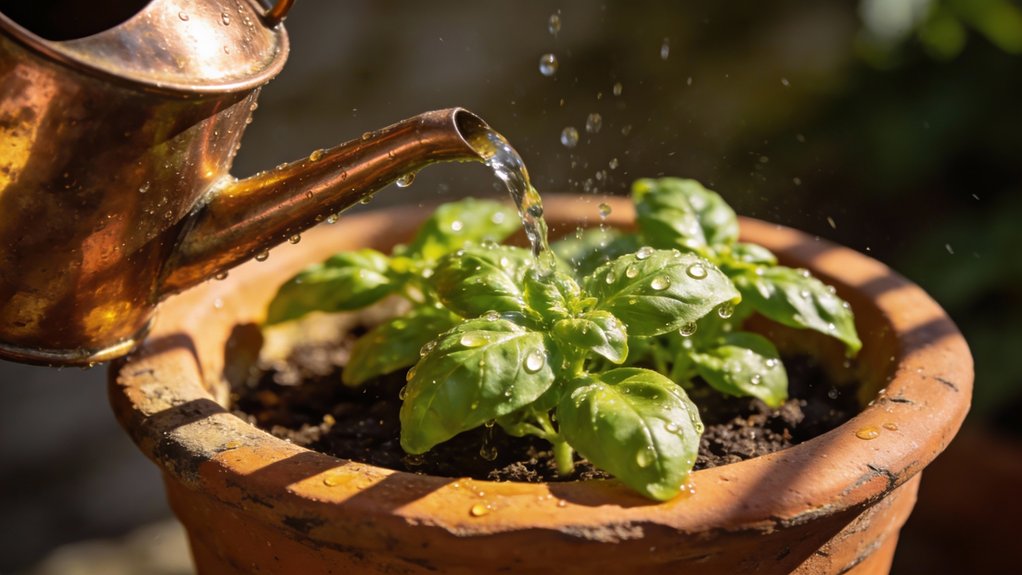
Check soil daily during peak summer months. Stick your finger two inches deep; if it’s dry, water thoroughly until liquid drains from the bottom.
Moisture monitoring becomes less demanding with self-watering systems like clay ollas or drip irrigation, which deliver consistent hydration without daily intervention.
During hot, windy conditions, even established containers may require twice-daily watering.
The key is maintaining steady moisture without waterlogging roots. Drought and overwatering cause the same result: dead plants.
Give Tomatoes a Pot at Least 12 Inches Deep
While smaller pots might seem adequate, a tomato wants at least 12 inches of depth and two to five gallons of mix. That is the minimum Colorado State University Extension lists for a container tomato. Pot size directly affects how much water and nutrition the roots can reach.
Here’s why bigger containers matter:
- Root Development: Twenty-gallon pots prevent rootbound conditions that stunt growth and slash yields.
- Moisture Management: Larger soil volume stays hydrated longer, reducing your watering schedule.
- Nutrient Availability: More soil means consistent access to essential nutrients throughout the growing season.
- Companion Planting: Extra space lets you add compatible plants with similar feeding requirements.
Don’t handicap your harvest with undersized containers.
Top-Dress Containers With Compost Every Month
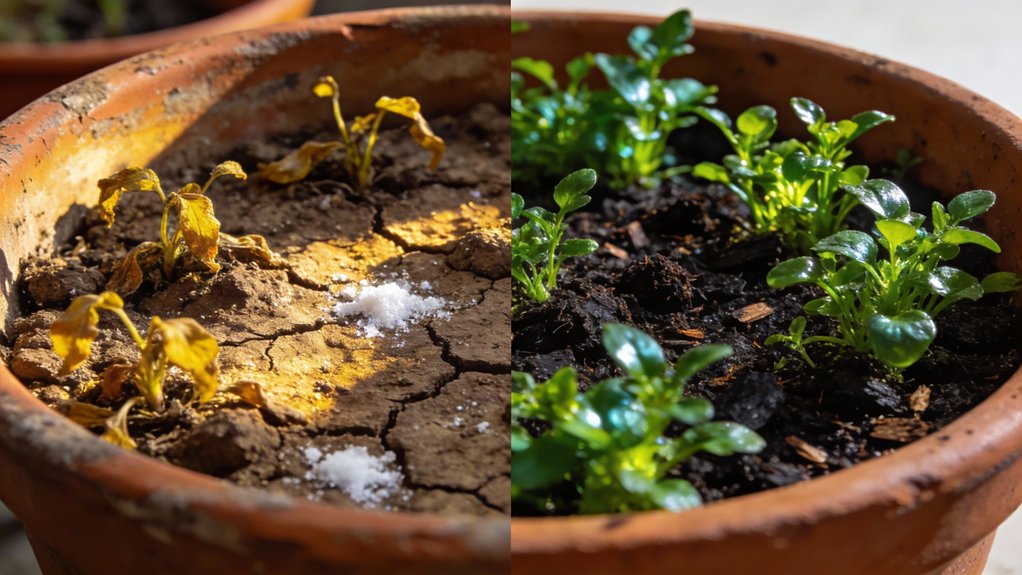
Even well-planted containers become nutritional wastelands after six weeks of growth.
That’s why you need to top-dress with compost monthly. Simply spread a half-inch layer across the soil surface.
This practice delivers real results: it replenishes depleted nutrients, improves soil structure, and boosts microbial activity.
The compost also acts as natural mulch, reducing evaporation and keeping roots cool during summer heat.
You’ll get slow-release nutrient replenishment that prevents deficiencies and supports continuous blooming and fruiting. It’s the easiest way to maintain container health throughout the season without relying solely on liquid fertilizers.
Check Under Leaves Daily to Spot Pests Early
Pests don’t announce themselves. They hide on leaf undersides where you won’t notice them until the damage spreads.
Making pest identification part of your daily watering routine takes just seconds but saves weeks of plant recovery time.
Your daily leaf inspection routine:
- Flip leaves while watering to check for white webs, sticky residue, or tiny moving dots
- Look for discoloration patterns that signal hidden aphids or spider mites
- Track pest populations weekly to measure if natural remedies are working
- Act immediately when you spot problems: early intervention prevents pesticide dependency
This simple habit keeps your container garden thriving. Catch pests in week one, not week three.
Avoid Dark Metal Pots in Hot Summer Climates
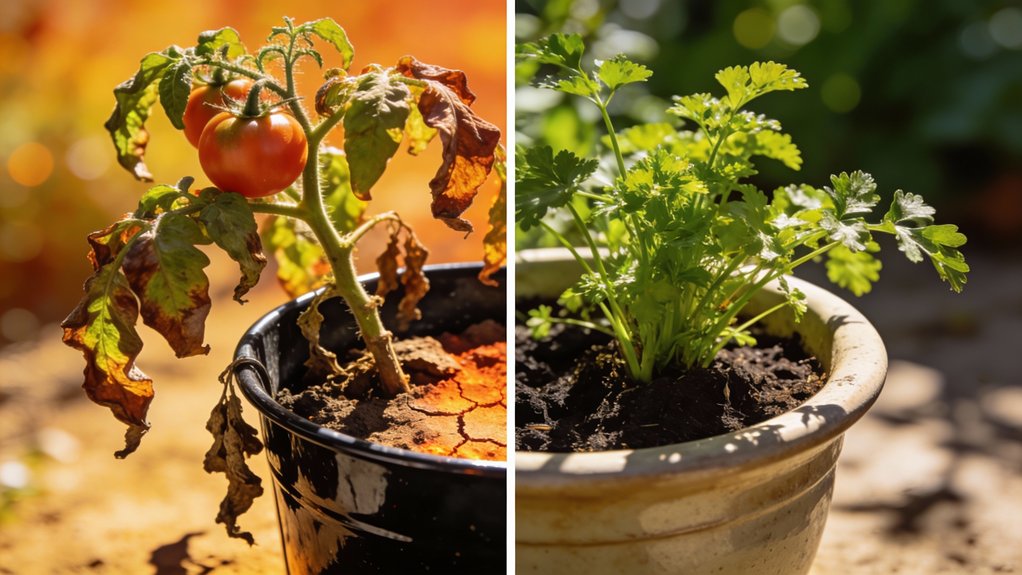
That sleek black metal planter looks stunning on your sunny patio until you realize it’s literally cooking your tomato roots at 140°F while the air temperature reads just 85°F.
Dark containers absorb excessive heat, stressing plants and stunting growth during peak summer months.
Switch to light-colored ceramic or fabric grow bags that reflect sunlight instead of trapping it.
If you can’t avoid dark pots, place them in shade during afternoon hours and check moisture twice daily since heat accelerates drying.
Your plants will thank you with healthier roots and better yields when they’re not spending energy fighting a hot pot.
Conclusion
You’ve got the nine rules. Follow them, and your containers won’t turn into plant graveyards by July. Ignore them, and you’ll wonder why your tomatoes look sadder than a deflated balloon.
It’s not rocket science: 12-inch pots, drainage holes, and actual potting soil. Water daily. Feed monthly. Check for bugs.
Don’t use black metal pots when it’s 95 degrees outside. Your plants will thank you by, you know, actually growing.