A balcony, a few pots, and a free Saturday are enough to start.
You do not need a yard. You do not need experience. You do not need to spend a weekend’s pay at the garden center on day one.
What you need most in month one is a plan that goes slow. Most beginners fail because they buy too much, plant too much, and water on a guess. This plan does the opposite.
Four weeks. One small win at a time.
Week 1: Read your balcony before you buy anything

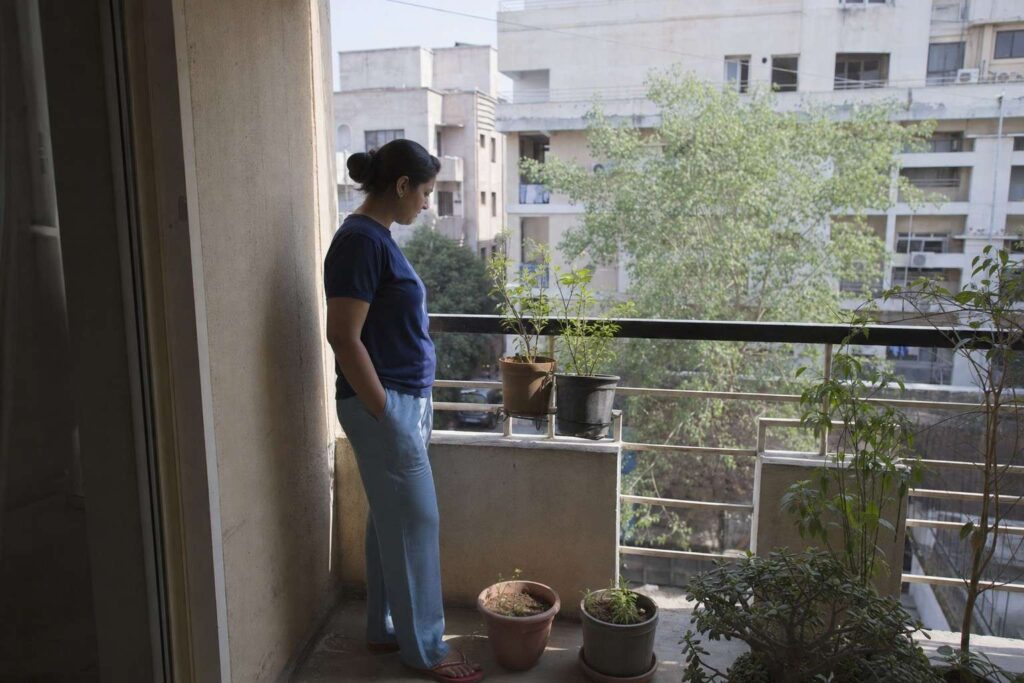
The most useful thing you can do in week one costs nothing. Watch where the sun lands.
Step outside in the morning, around midday, and late afternoon. Note when your railing is in direct sun and when it falls into shade. A balcony that bakes at noon and a balcony that only catches an hour of morning light grow very different things.
Six or more hours of direct sun lets you grow almost anything, including tomatoes and peppers. Three to four hours points you toward leafy greens and herbs. Knowing this now saves you a dead plant later.
If you are not sure what you are working with, here is how to measure how much sun your balcony gets across a single day.
While you are out there, check two practical things:
- Weight. Wet soil is heavy. Plan to keep large pots near the wall or over a support beam, not hanging off a light railing.
- Wind. Balconies are windier than yards. Wind dries pots out fast and can topple tall plants.
You can grow real food in a rental; a sunny balcony or a bright windowsill is enough to start. Week one just tells you which food.
Week 2: Buy less than you think
Now you shop, but with a short list. The instinct is to fill a cart. Resist it.
Start with three to five forgiving plants, not a full balcony. Learn the rhythm first.
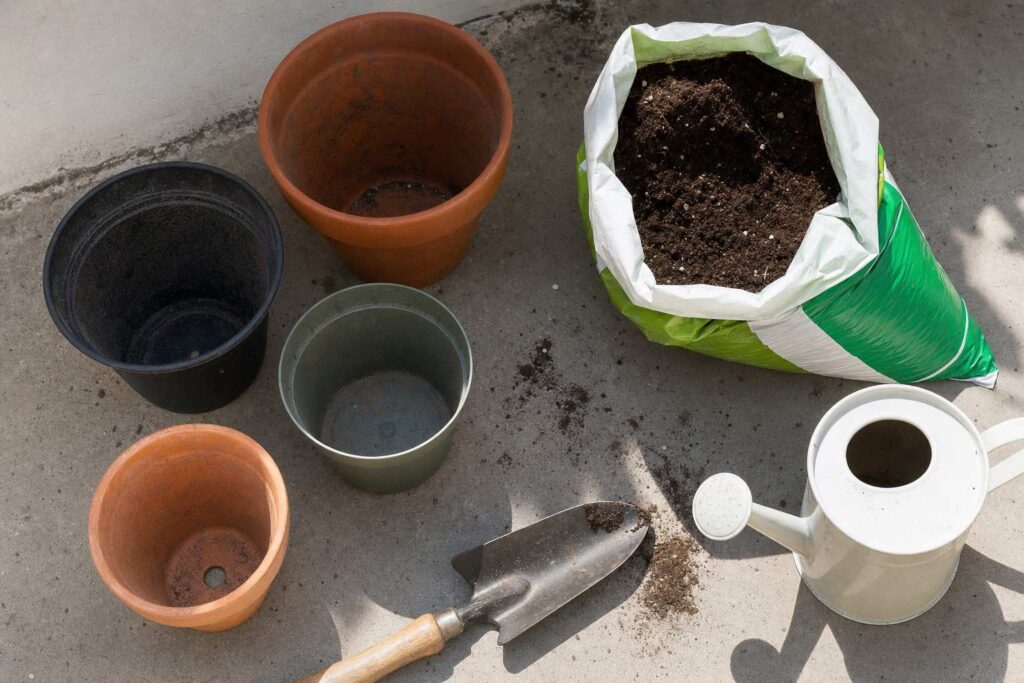
Here is the whole starter kit:
- Three pots, at least 12 inches across. Container size is the thing beginners get wrong most, so go bigger than you think, 12 inches minimum. Small pots dry out by noon and stunt roots.
- One bag of potting mix. Use potting mix, never garden soil, because garden soil compacts in a pot and suffocates roots. There is a real difference between garden soil and potting mix worth knowing before you buy.
- Three starter plants suited to your light from week one.
- A watering can. That is it.
Every pot must have drainage holes. Drainage holes are non-negotiable, because a pot that cannot drain drowns the roots.
The shortest path to a dead plant is a big pot with no hole in the bottom and a bag of dense garden soil.
If your railing space is tight, rail planters and self-watering boxes help. You can compare self-watering balcony planters on Amazon to see the styles that hook over a standard railing.
Week 3: Plant your three starters
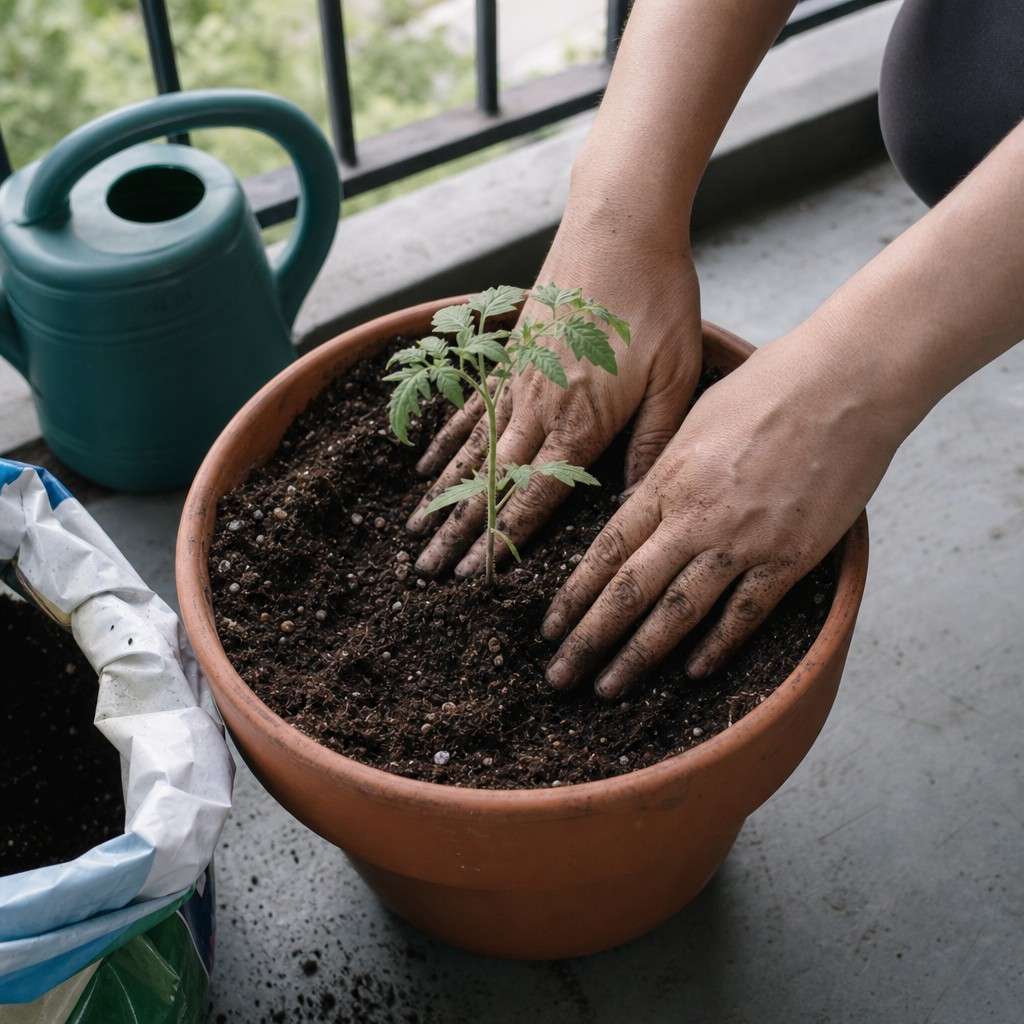
Planting day is short and forgiving. Fill each pot with damp potting mix to about an inch below the rim, settle the plant in at the same depth it sat in its nursery pot, and firm the soil gently.
Water until it runs from the drainage holes. That first deep soak matters more than any fertilizer.
Pick plants that reward beginners. If you are still deciding, lean on a list of vegetables that do well in containers and match them to your light.
Good month-one starters:
- Full sun: a cherry tomato, a chili pepper, or a pot of basil.
- Part shade: leaf lettuce, spinach, or chard.
- Almost any light: mint, parsley, or chives.
Group the pots loosely rather than spreading them to the corners. Plants near each other shade the soil a little and hold humidity, which means slightly less watering for you.
Week 4: Settle into a watering rhythm
This is the habit that decides everything. More container plants die from watering than from anything else, and usually from too much, not too little.
Containers dry out far faster than the ground, so in summer, check the soil every day. The method is simple.
Stick a finger into the soil. Dry past the first knuckle? Water. Still damp? Wait.
That is the entire skill. You will learn your balcony’s pace within a week, faster pots in wind and sun, slower pots in shade.
A few rhythm notes:
- Water in the morning or evening, not the hot middle of the day.
- Water until it drains from the bottom, then stop.
- Empty any saucer so roots are not sitting in standing water.
If you want the full picture on timing, the guide to how often to water container plants goes deeper than a finger test.
What to expect after month one
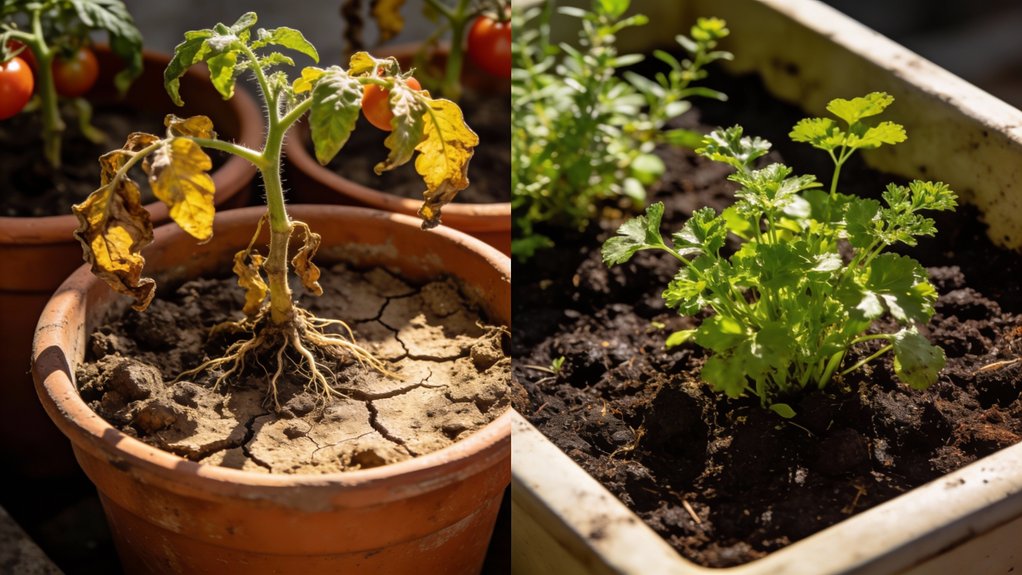
Some things will go well. Something will probably struggle. That is the plan working, not failing.
Your first season is for learning your space, not for a record harvest. A wilted basil or a slow tomato is information about your balcony, not a verdict on you.
Month one is not about a big harvest. It is about three plants alive and a habit you can keep.
Keep the three pots. Add a fourth only when watering feels automatic. Next month you can stack upward with a vertical setup, try a new crop, or follow a proper balcony gardening setup for beginners to expand with intent.
Slow is how balcony gardens survive their first summer.