When you start seeds indoors depends on your average last spring frost date, not a generic month on a chart. Most seeds are started 6 to 12 weeks before that date, depending on the crop.
Getting the timing right helps you grow sturdy seedlings that are ready for the garden, instead of plants that are too large, weak, or stressed by transplanting.
This guide shows you how to count backward from your frost date, build a simple seed-starting schedule, and avoid common timing mistakes.
Calculate Your Monthly Seed Starting Schedule by Frost Zone
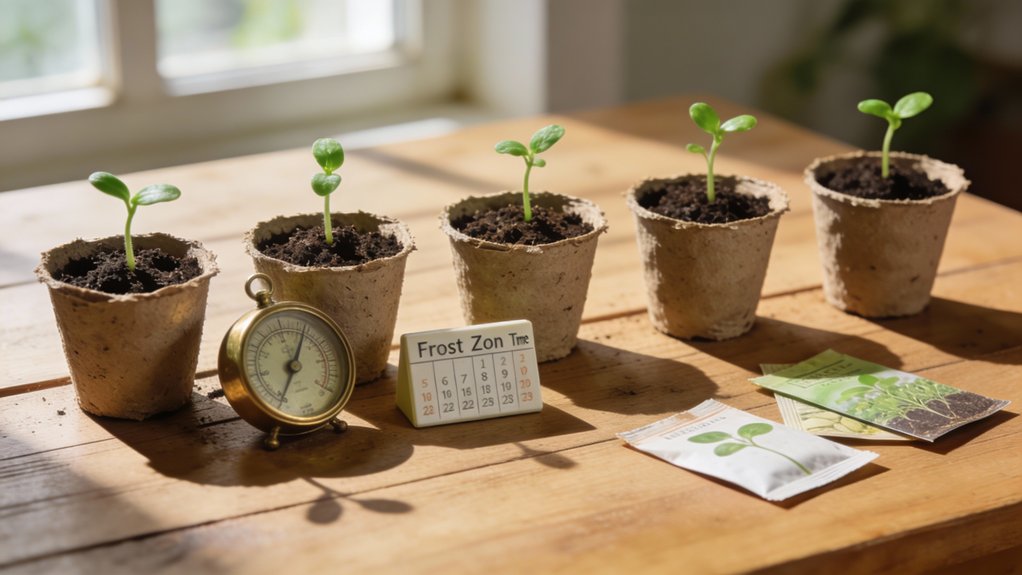
Before you can start any seeds indoors, you need to know your area’s average last frost date. Find this by checking your USDA hardiness zone, which provides critical frost date calculations for planning.
Most seeds need about 6 weeks indoors before transplanting outside. However, seed variety considerations matter greatly.
Warm-season crops like tomatoes and peppers require 6-8 weeks of indoor growth, while cool-season vegetables need less time. The Almanac’s Planting Calendar offers tailored starting dates based on your local climate.
Keep records of your seeding dates and actual frost occurrences: this data helps you refine your schedule each year. Container gardening techniques can further optimize your seedling development by providing controlled environments that overcome poor soil conditions and protect young plants.
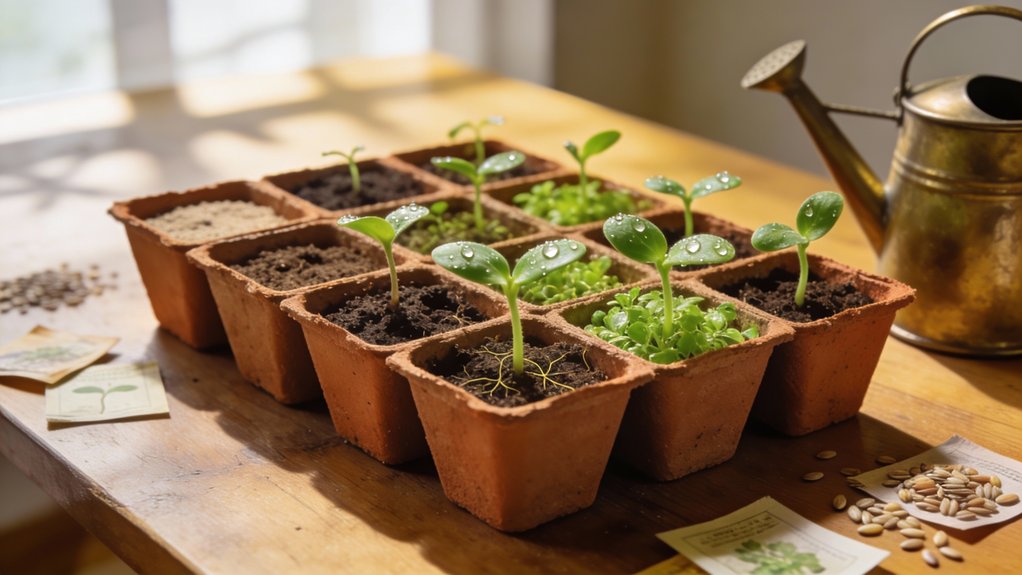
Gather Your Supplies: Containers, Mix, and Lights
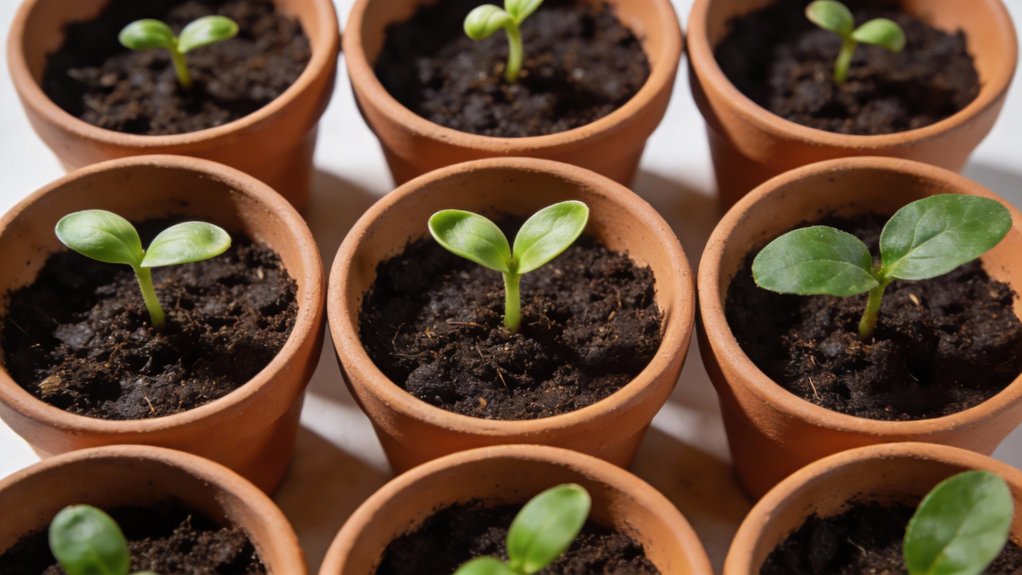
Once you’ve pinpointed your planting dates, you’ll need three basic supplies: containers, growing medium, and light.
Start with containers featuring drainage holes: pots, plug trays, or recycled yogurt cups work well. Your seed selection deserves quality potting mix that’s fine-textured and low in nutrients. Avoid outdoor soil entirely.
Consider buying containers in bulk with extras on hand for potential breaks or future plants.
For successful germination, maintain these conditions:
- Keep air temperatures above 60°F
- Use a heating pad beneath containers if needed
- Position grow lights 4 to 6 inches above seedlings
- Provide 15 to 16 hours of daily light
Proper light positioning with full-spectrum LED or fluorescent bulbs guarantees strong, compact growth.
Month-by-Month Seed-Starting Calendar (January to May)
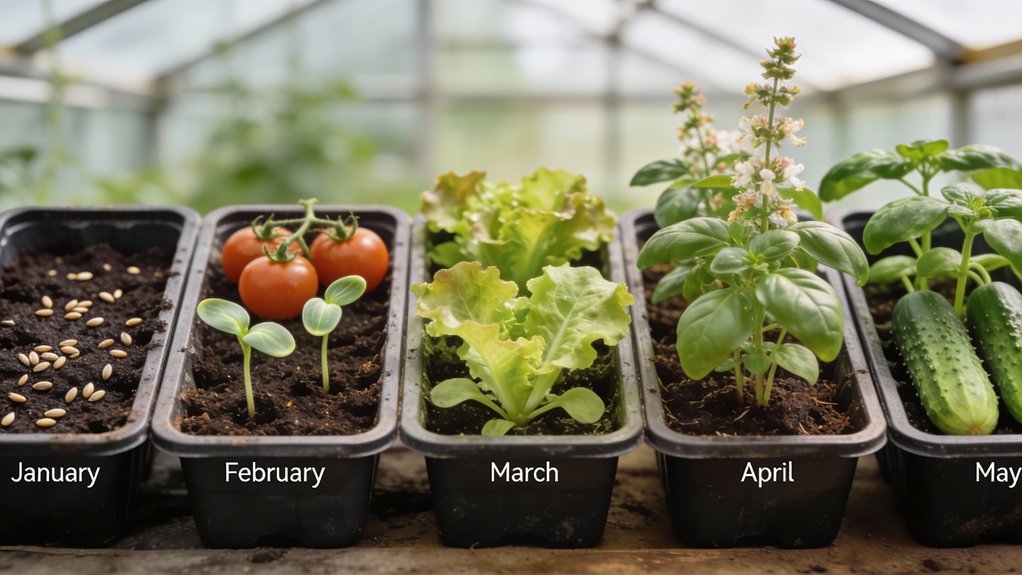
Use this as a general roadmap for seed starting. Exact dates still depend on your last frost date and how long each crop needs indoors.
January: Start slow-growing, cold-tolerant crops
January is a good time to start seeds for plants that grow slowly and can handle cool spring weather, such as:
- broccoli
- cabbage
- other brassicas
February: Start tomatoes and peppers
Many tomatoes and peppers need a long indoor head start. February is often the right window to sow:
- tomatoes
- peppers
- Plan on about 8 weeks indoors for many varieties.
March: Add more warm-season crops and herbs
Keep sowing warm-season plants and add a few more that benefit from indoor time:
- more tomatoes and peppers (later plantings)
- eggplant
- basil
April: Harden off seedlings
April is less about sowing and more about preparation. Begin hardening off by gradually moving seedlings outdoors:
- start with short, sheltered outings
- increase sun and wind exposure over 7–10 days
- bring plants in if nights are cold
May: Transplant and direct sow
Once frost danger has passed, transplant hardened seedlings into the garden. May is also the time to direct sow heat-lovers when soil is warm:
- transplant: tomatoes, peppers, brassicas (as weather allows)
- direct sow after soil reaches about 60°F (16°C): beans, squash
Each month builds toward planting out strong seedlings at the right time.
How to Actually Plant the Seeds
The actual planting process requires just five straightforward steps, each one building your confidence as a seed starter.
- Fill containers with seed-starting or all-purpose potting mix, tamping it down firmly and avoiding outdoor soil that brings pests and compaction problems.
- Check your seed packet for planting depth specifications, then poke holes accordingly: proper seed selection means choosing the largest, healthiest seeds.
- Drop seeds into holes and cover them with mix to reach the correct planting depth.
- Label each container with variety and date, then keep the mix consistently moist using a spray bottle.
Seedling Care and Hardening Off: Final Steps Before Planting Outside
Seedlings need steady care from germination until transplanting outdoors. For most plants, this indoor period lasts 4 to 8 weeks, depending on the crop and how early you start.
Care after germination (weeks 1–8)
- Light: Give seedlings strong light so they grow compact, not leggy.
- Water: Keep the mix lightly moist, not soggy. Water when the surface starts to dry.
- Airflow: Gentle airflow helps reduce damping off and strengthens stems.
Pot up to prevent crowding
Once seedlings have 2 sets of true leaves (not the first seed leaves), move them into their own cells or small pots. This gives roots more room and prevents competition.
When transplanting into a bigger pot:
- Hold seedlings by a leaf, not the stem.
- Plant at the same depth (or slightly deeper for tomatoes, if desired).
Harden off 7–10 days before planting out
Hardening off helps seedlings adjust to sun, wind, and temperature swings.
A simple schedule:
- Day 1: 1 hour outdoors in bright shade or dappled light
- Add time outside each day and slowly increase sun exposure
- Bring plants in if nights are cold or conditions are harsh (wind, heavy rain)
During hardening off:
- Water a bit less often, but don’t let seedlings wilt.
- Skip fertilizer or use very light feeding.
Transplant outdoors
After hardening off, transplant into prepared soil at the right time for your crop (after frost for warm-season plants). Water in well, and keep an eye on weather for the first week so plants don’t dry out or get stressed.