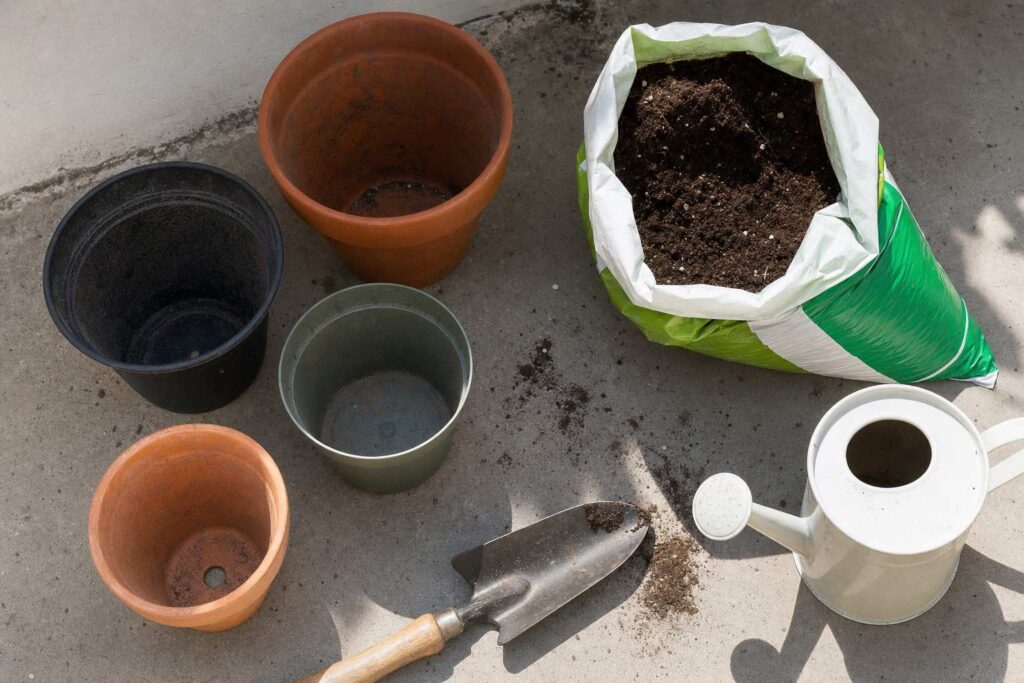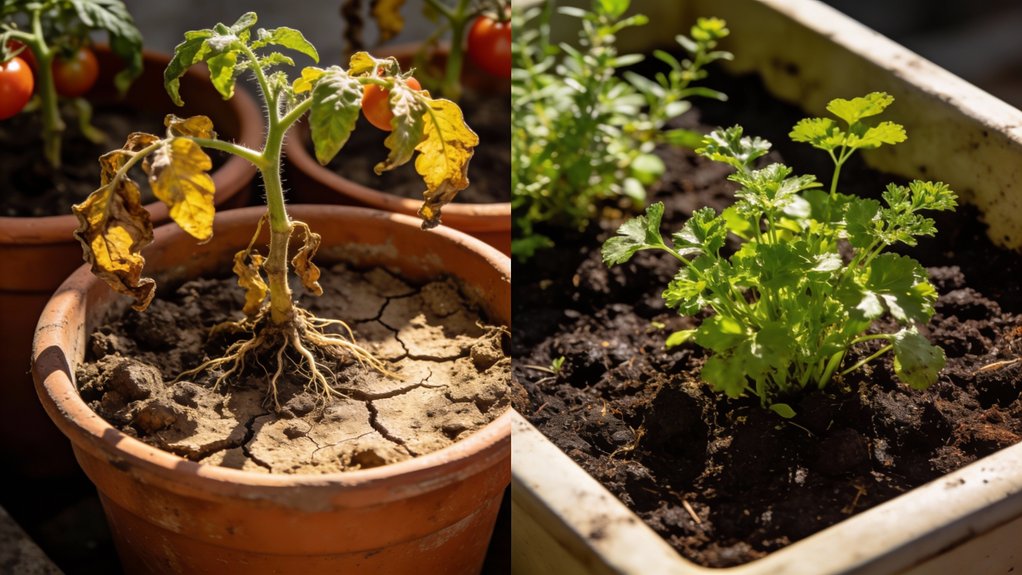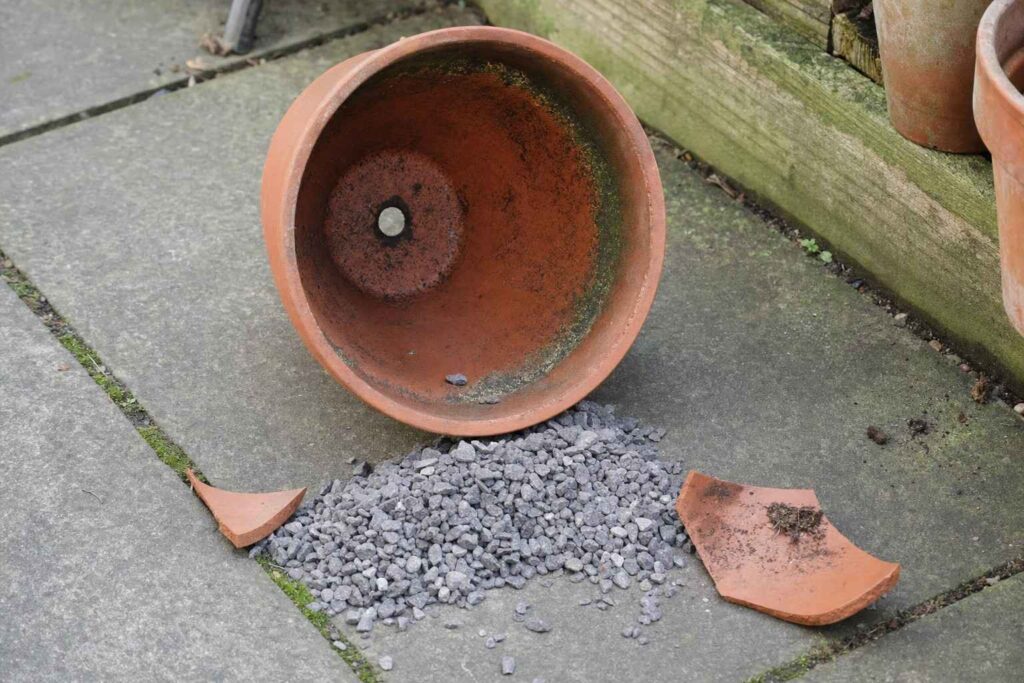
Put a layer of gravel, pebbles, sand, or broken pot shards in the bottom of the pot before you add soil. Then plant on top.
That is the advice printed in gardening books and repeated by nursery staff. It has been passed down on plant tags for about as long as most people have been gardening.
Soil science says the opposite is true.
A gravel layer in the bottom of a pot does not drain a container. It makes waterlogging worse.
Why the layer holds water instead of draining it away
Water moves through soil the way physics decides, not the way the old advice assumes. Washington State University’s free public gardening service, Extension, traces the research back almost 100 years.
Water does not move easily from a layer of fine soil into a layer of coarser material sitting below it.
Gravel, sand, and broken shards are all coarser than potting mix. The boundary between the mix and that layer acts like a small dam.
Water will not cross into the gravel until the mix directly above it is completely saturated. Only then does it start moving down.
Materials usually recommended for this layer include:
- Pea gravel or coarse gravel
- River sand or builder’s sand
- Broken pieces of an old terracotta pot
- Small pebbles or aquarium stones
That “wait until saturated” rule is the whole mechanism, and it works against you every time.
What that means for the roots sitting on top
Picture the bottom two inches of a pot right after a normal watering.
Instead of draining away, water pools exactly where the potting mix meets the gravel. That soaked zone sits directly under the plant’s root ball, not safely below it.
Roots that spend hours or days in a saturated, low-oxygen zone start to suffocate and rot.
A beginner usually reads this as overwatering. The schedule was not the problem. Where the water got trapped was.
A deep pot with a thick gravel layer can end up with less usable, well-drained soil than a shallow pot with none at all.
Nearly a century of research says the same thing
This is not a new finding, and it did not come from one lab.
Washington State University Extension is the university’s free public advice service. It notes that one study even found more moisture retained in soil sitting above gravel than in soil sitting above sand. A coarser material makes the pooling worse, not better.
University of California Agriculture and Natural Resources reaches the same conclusion in plainer language. Gravitational water will not move from a fine textured soil into a coarser soil until the finer soil is saturated.
University of Maryland Extension states it without hedging. Adding rocks, gravel, or broken pot shards to the bottom of a container will not improve drainage.
Three university extension programs, in three different states, arrive at the identical verdict.
What your container actually needs to drain well
A hole in the bottom of the pot drains it in a way gravel never could.
University of Maryland Extension is direct about why every container needs open holes or slits. They stop the roots from drowning and rotting in trapped water. Drainage holes are non-negotiable; a pot that can’t drain drowns the roots.
Skip the filler layer completely instead of trying to improve it. Here is what to do with the space instead:
- Choose a pot with real holes already through the base, not shallow decorative grooves.
- Fill the pot with the right potting mix from the very bottom to the top, with nothing else underneath it.
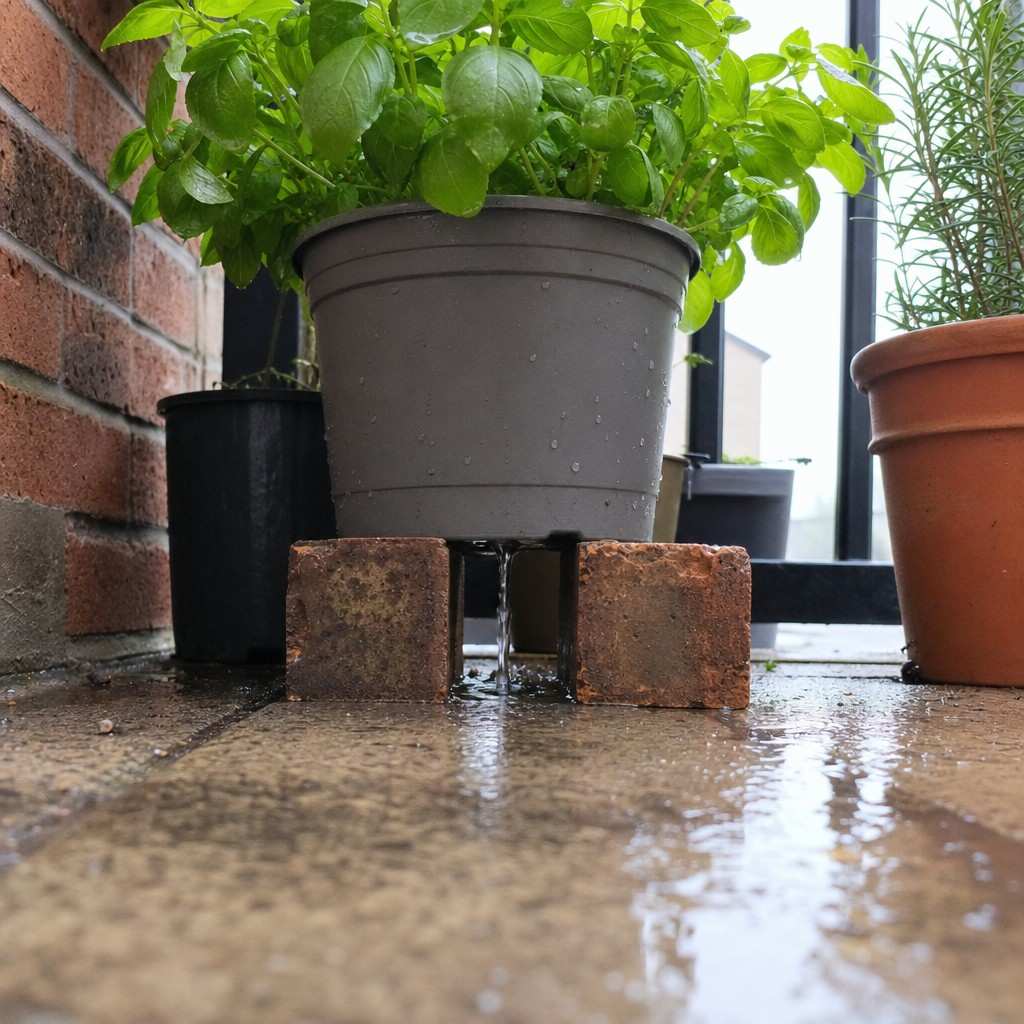
- Set the pot on pot feet, bricks, or a scrap of wood. University of Maryland Extension recommends this too, so water can actually leave once it drains.
Overwatering follows the exact same pooling pattern as a bad drainage layer. Getting your watering rhythm right matters just as much as what sits inside the pot.
If you are shopping for new pots, compare plant pots with drainage holes on Amazon. Check that the holes go all the way through before you buy.
Heads up: some links on this page are affiliate links. Buying through them supports the site with a small commission and does not raise your price.
Pots without a hole in the bottom
Decorative pots often have no hole at all. A renter is often wary of drilling into a pot that belongs to someone else, or a nice ceramic piece bought for a windowsill.
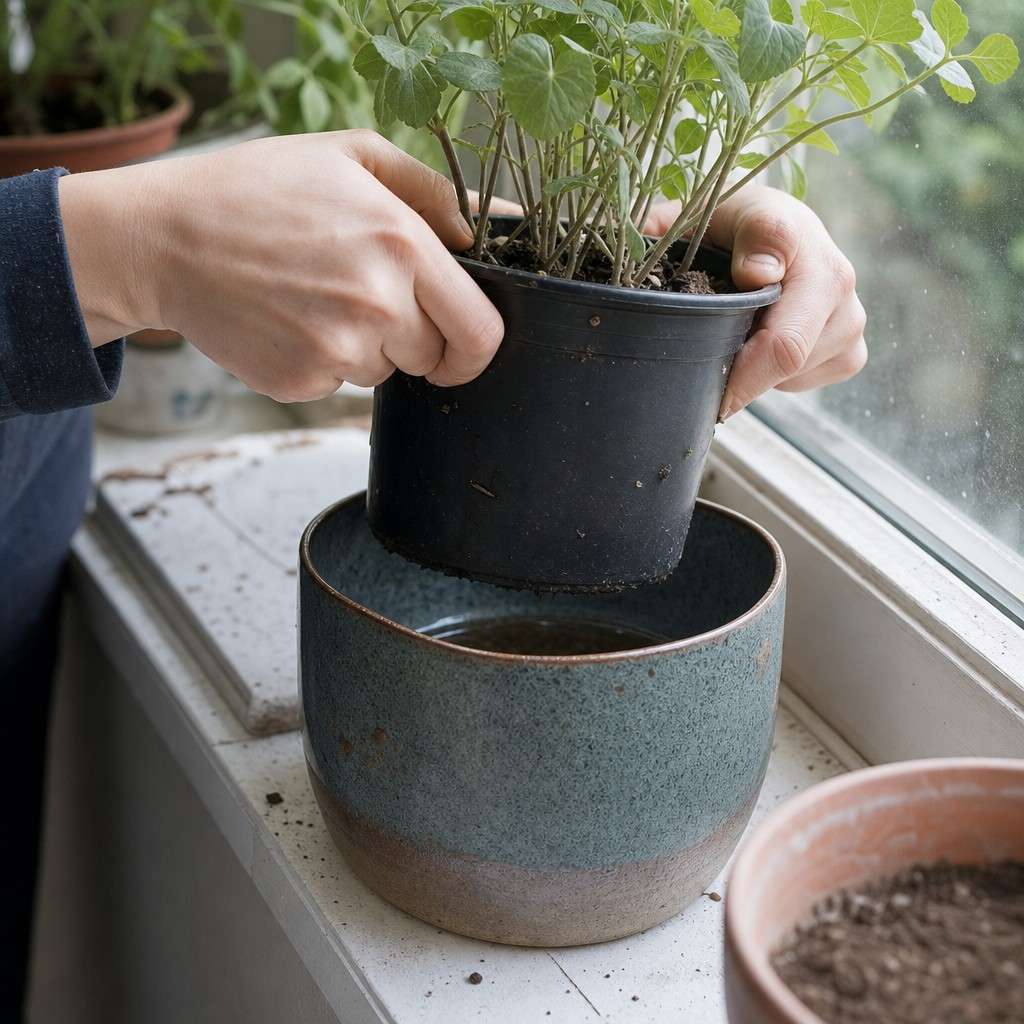
There is no need to drill anything. Use the decorative pot as an outer shell. Grow the plant in a plain plastic or terracotta pot with real holes, then set that pot inside the decorative one.
A plain pot with real holes does the actual growing. The decorative pot just holds it in place.
Lift the inner pot out to water it over a sink, let it finish draining, then set it back inside. Nothing sits in standing water this way, even with no hole in the outer shell.
Water will not cross into the gravel until the mix directly above it is completely saturated. Only then does it start moving down.
A borrowed or precious pot does not have to stop you.
The gravel myth belongs on any list of common container gardening mistakes. It sits right alongside a pot that is too small for what is planted in it.
What to do instead
- Skip the gravel, sand, or pot-shard layer entirely. Fill the pot with potting mix from bottom to top.
- Make sure the pot has real, open drainage holes through the base, not decorative slits.
- If a decorative pot has no hole, nest a plastic or terracotta grow pot with holes inside it instead of drilling.
- Raise every pot on feet, bricks, or scrap wood so water has somewhere to go once it drains.