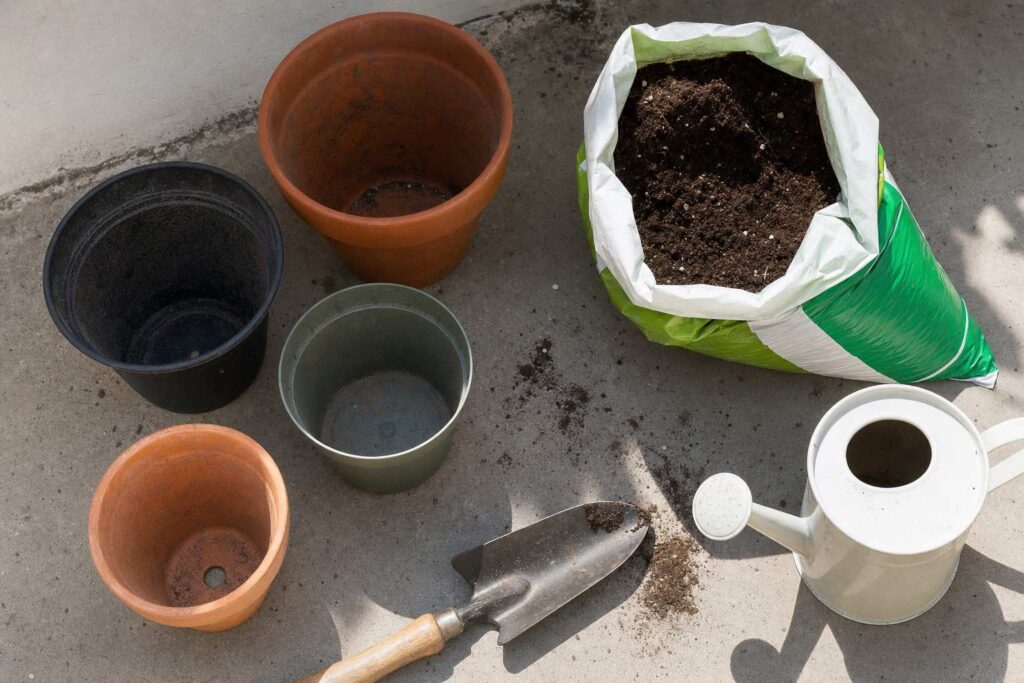
Good soil prep isn’t complicated, but it matters. Seeds and transplants struggle in hard, compacted ground, even with regular watering and fertilizer.
Before you plant, focus on a few basics: clear the bed, loosen the soil (about 8–12 inches for most gardens), and mix in organic matter to improve drainage, airflow, and moisture retention.
Here’s a straightforward method for preparing a new garden bed from scratch.
Clear Weeds, Rocks, and Debris From the Bed
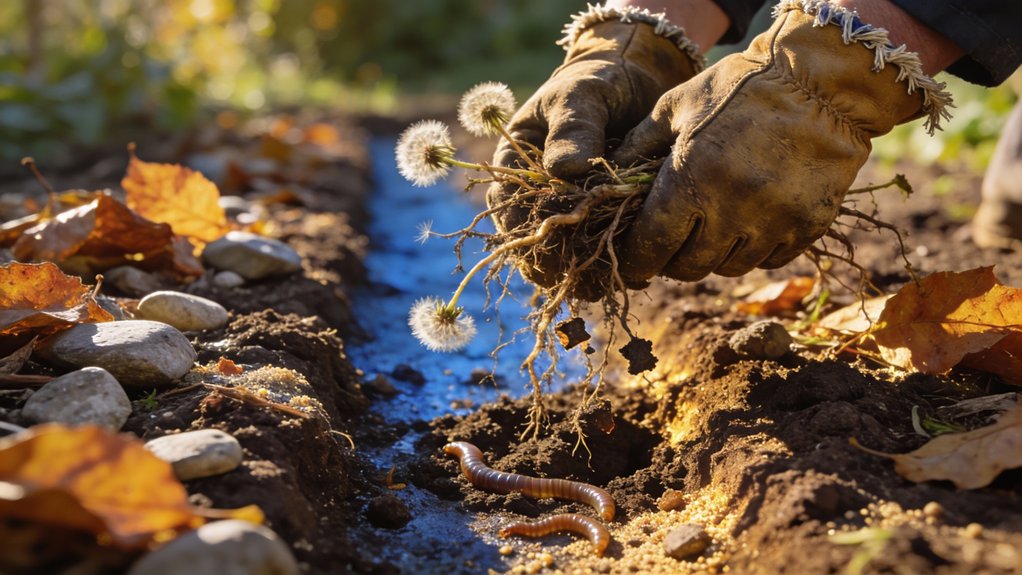
Before you add any amendments or plant a single seed, you need to start with a clean slate.
- Begin weed removal by hand or with a garden fork, making sure you extract the entire root system to prevent regrowth.
- Clear away rocks larger than 1 inch in diameter, they’ll interfere with plant roots.
- Handle debris disposal by removing dead plant material, sticks, and trash from previous seasons.
- For bigger spaces, a rototiller efficiently loosens soil while clearing weeds simultaneously.
Stubborn vegetation requires smothering techniques or a sod cutter for complete removal.
Once cleared, mark garden paths to guide your planting layout and ensure organized plant placement.
This creates your clean workspace.
Dig and Loosen Your Garden Soil 12 Inches Deep
With your garden bed cleared, you’re ready to work the soil itself. Grab a shovel or garden fork: these digging tools let you penetrate at least 12 inches deep. This depth promotes proper soil aeration techniques while creating space for robust root development.
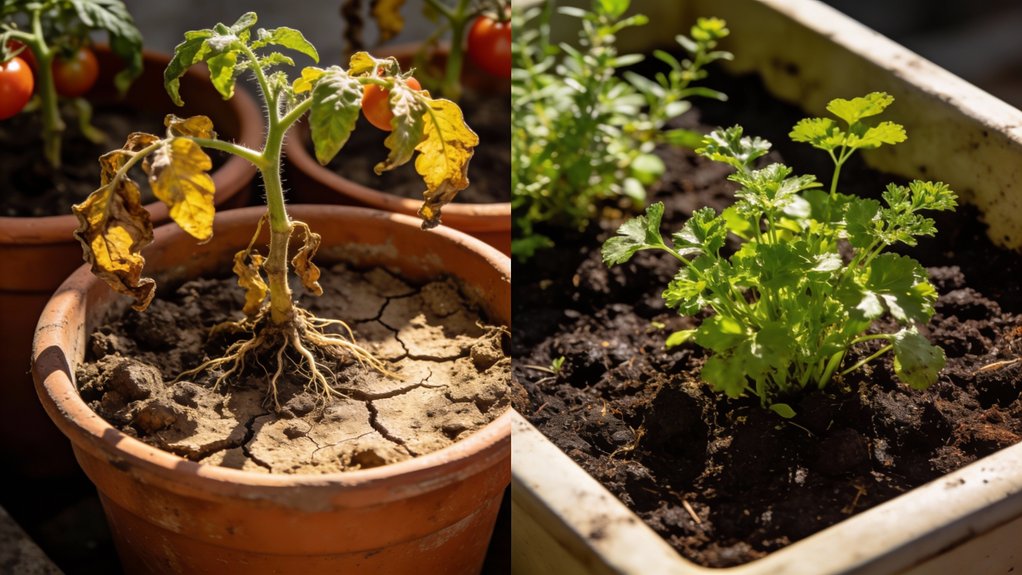
As you dig, break apart large clumps until you’ve achieved a loose, crumbly texture. This consistency improves both water retention and drainage. For container gardens, remember that potting soil is vital for plant health and nutrient access, unlike regular garden soil which does not meet drainage requirements for potted plants.
Remove any rocks, roots, or remaining debris you encounter. They’ll obstruct plant roots later.
Clear away all rocks, roots, and debris during digging—these obstacles will block healthy root growth and limit your plants’ development.
For larger areas, consider renting a rototiller to efficiently turn and loosen soil to the desired depth.
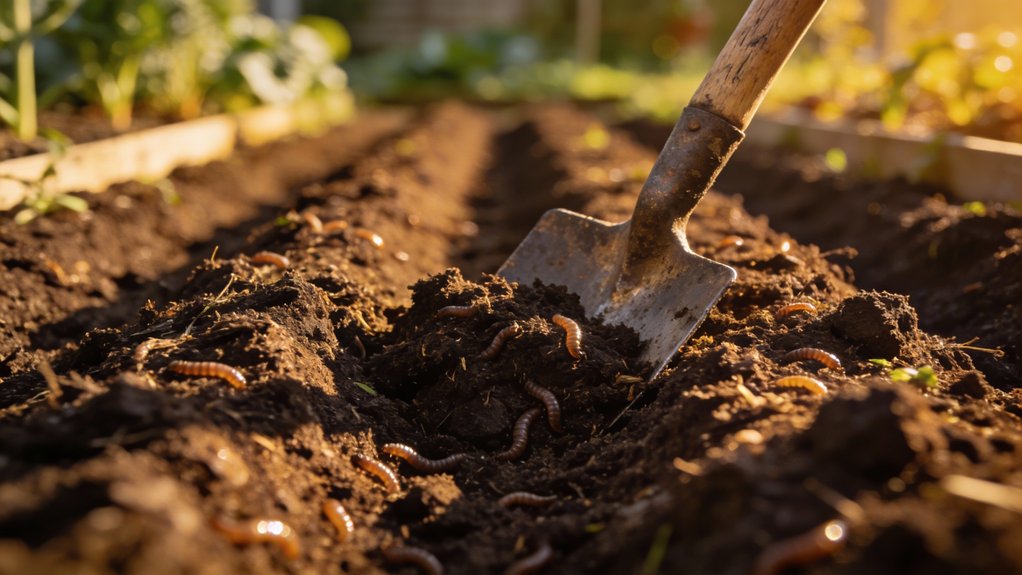
Mix in Compost and Organic Matter
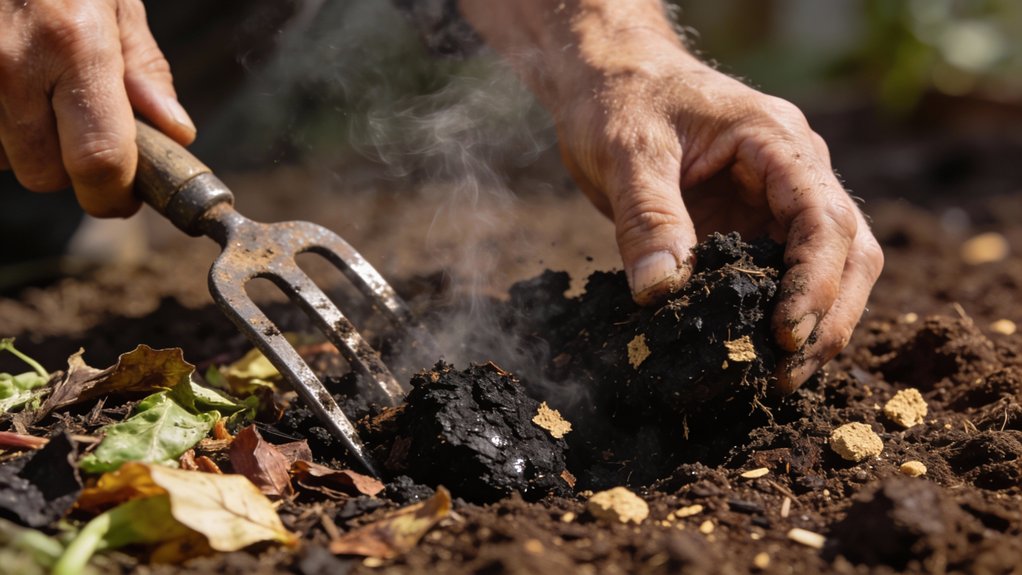
Now that you’ve loosened the soil, it’s time to enrich it with organic matter. Mix 2-3 inches of compost into the top 6-8 inches of soil.
The compost benefits include better nutrient availability and improved soil structure. Add well-rotted manure or leaf mold to boost fertility and moisture retention. Aim for organic matter to make up about 25% of your soil blend.
These amendments improve drainage in clay soils and increase water retention in sandy types. Regular additions also enhance aeration and create a more resilient garden ecosystem that’ll support healthy plant growth for years.
Test and Balance Your Soil pH
Understanding your soil’s pH level ranks among the most important steps in garden preparation. Most plants thrive between 6.0 and 7.0 pH, where nutrient availability reaches its peak.
Soil pH between 6.0 and 7.0 maximizes nutrient availability, making it essential for optimal plant growth and garden success.
You’ll find DIY testing kits at garden centers for quick estimates, or contact your local cooperative extension for detailed analyses. Test in fall before planting to give soil amendments time to work.
If your pH reads too low, add lime or wood ashes to raise it. High pH requires sulfur or aluminum sulfate to lower it.
Regular testing guarantees your plants access essential nutrients efficiently, promoting healthier growth throughout the season.
Time Your Prep for Spring or Fall Planting

After you address any major pH issues, the next decision is when to prep your bed. Both fall and spring work well, as long as the soil is in good condition when you dig.
Fall soil prep (best for building long-term soil)
Fall is ideal because amendments have time to break down over winter. By spring, the bed is easier to work and organic matter is more evenly incorporated.
Spring soil prep (wait for the right soil moisture)
In spring, timing matters more. Don’t work soil that’s wet. Grab a handful and squeeze:
- If it forms a sticky ball or smears, it’s too wet.
- If it crumbles apart, it’s ready.
How to amend the bed (either season)
- Spread 2 to 3 inches of compost over the surface.
- Mix it into the top 6 to 8 inches of soil.
- Let the bed sit for 1 to 2 weeks before planting when possible.
This short resting period helps the soil settle, improves moisture balance, and gives seedlings a more stable start.
Let Amended Soil Rest Before You Plant
After spreading compost and amendments throughout your garden bed, patience becomes your most valuable tool.
You’ll need to let your soil rest for 1 to 2 weeks before planting.
This waiting period allows organic materials to break down and supports microbial activity that’s essential for soil health.
Here’s what to do during the resting period:
- Test workability by squeezing a handful, crumbly soil means you’re ready, while sticky clumps mean wait longer
- Let beneficial microorganisms establish to improve nutrient availability
- Rake the surface smooth after resting to guarantee level planting
- Avoid immediate planting to prevent disrupting soil structure